.cake baking.magic making.
How to make your very own merlin...
Discover our secrets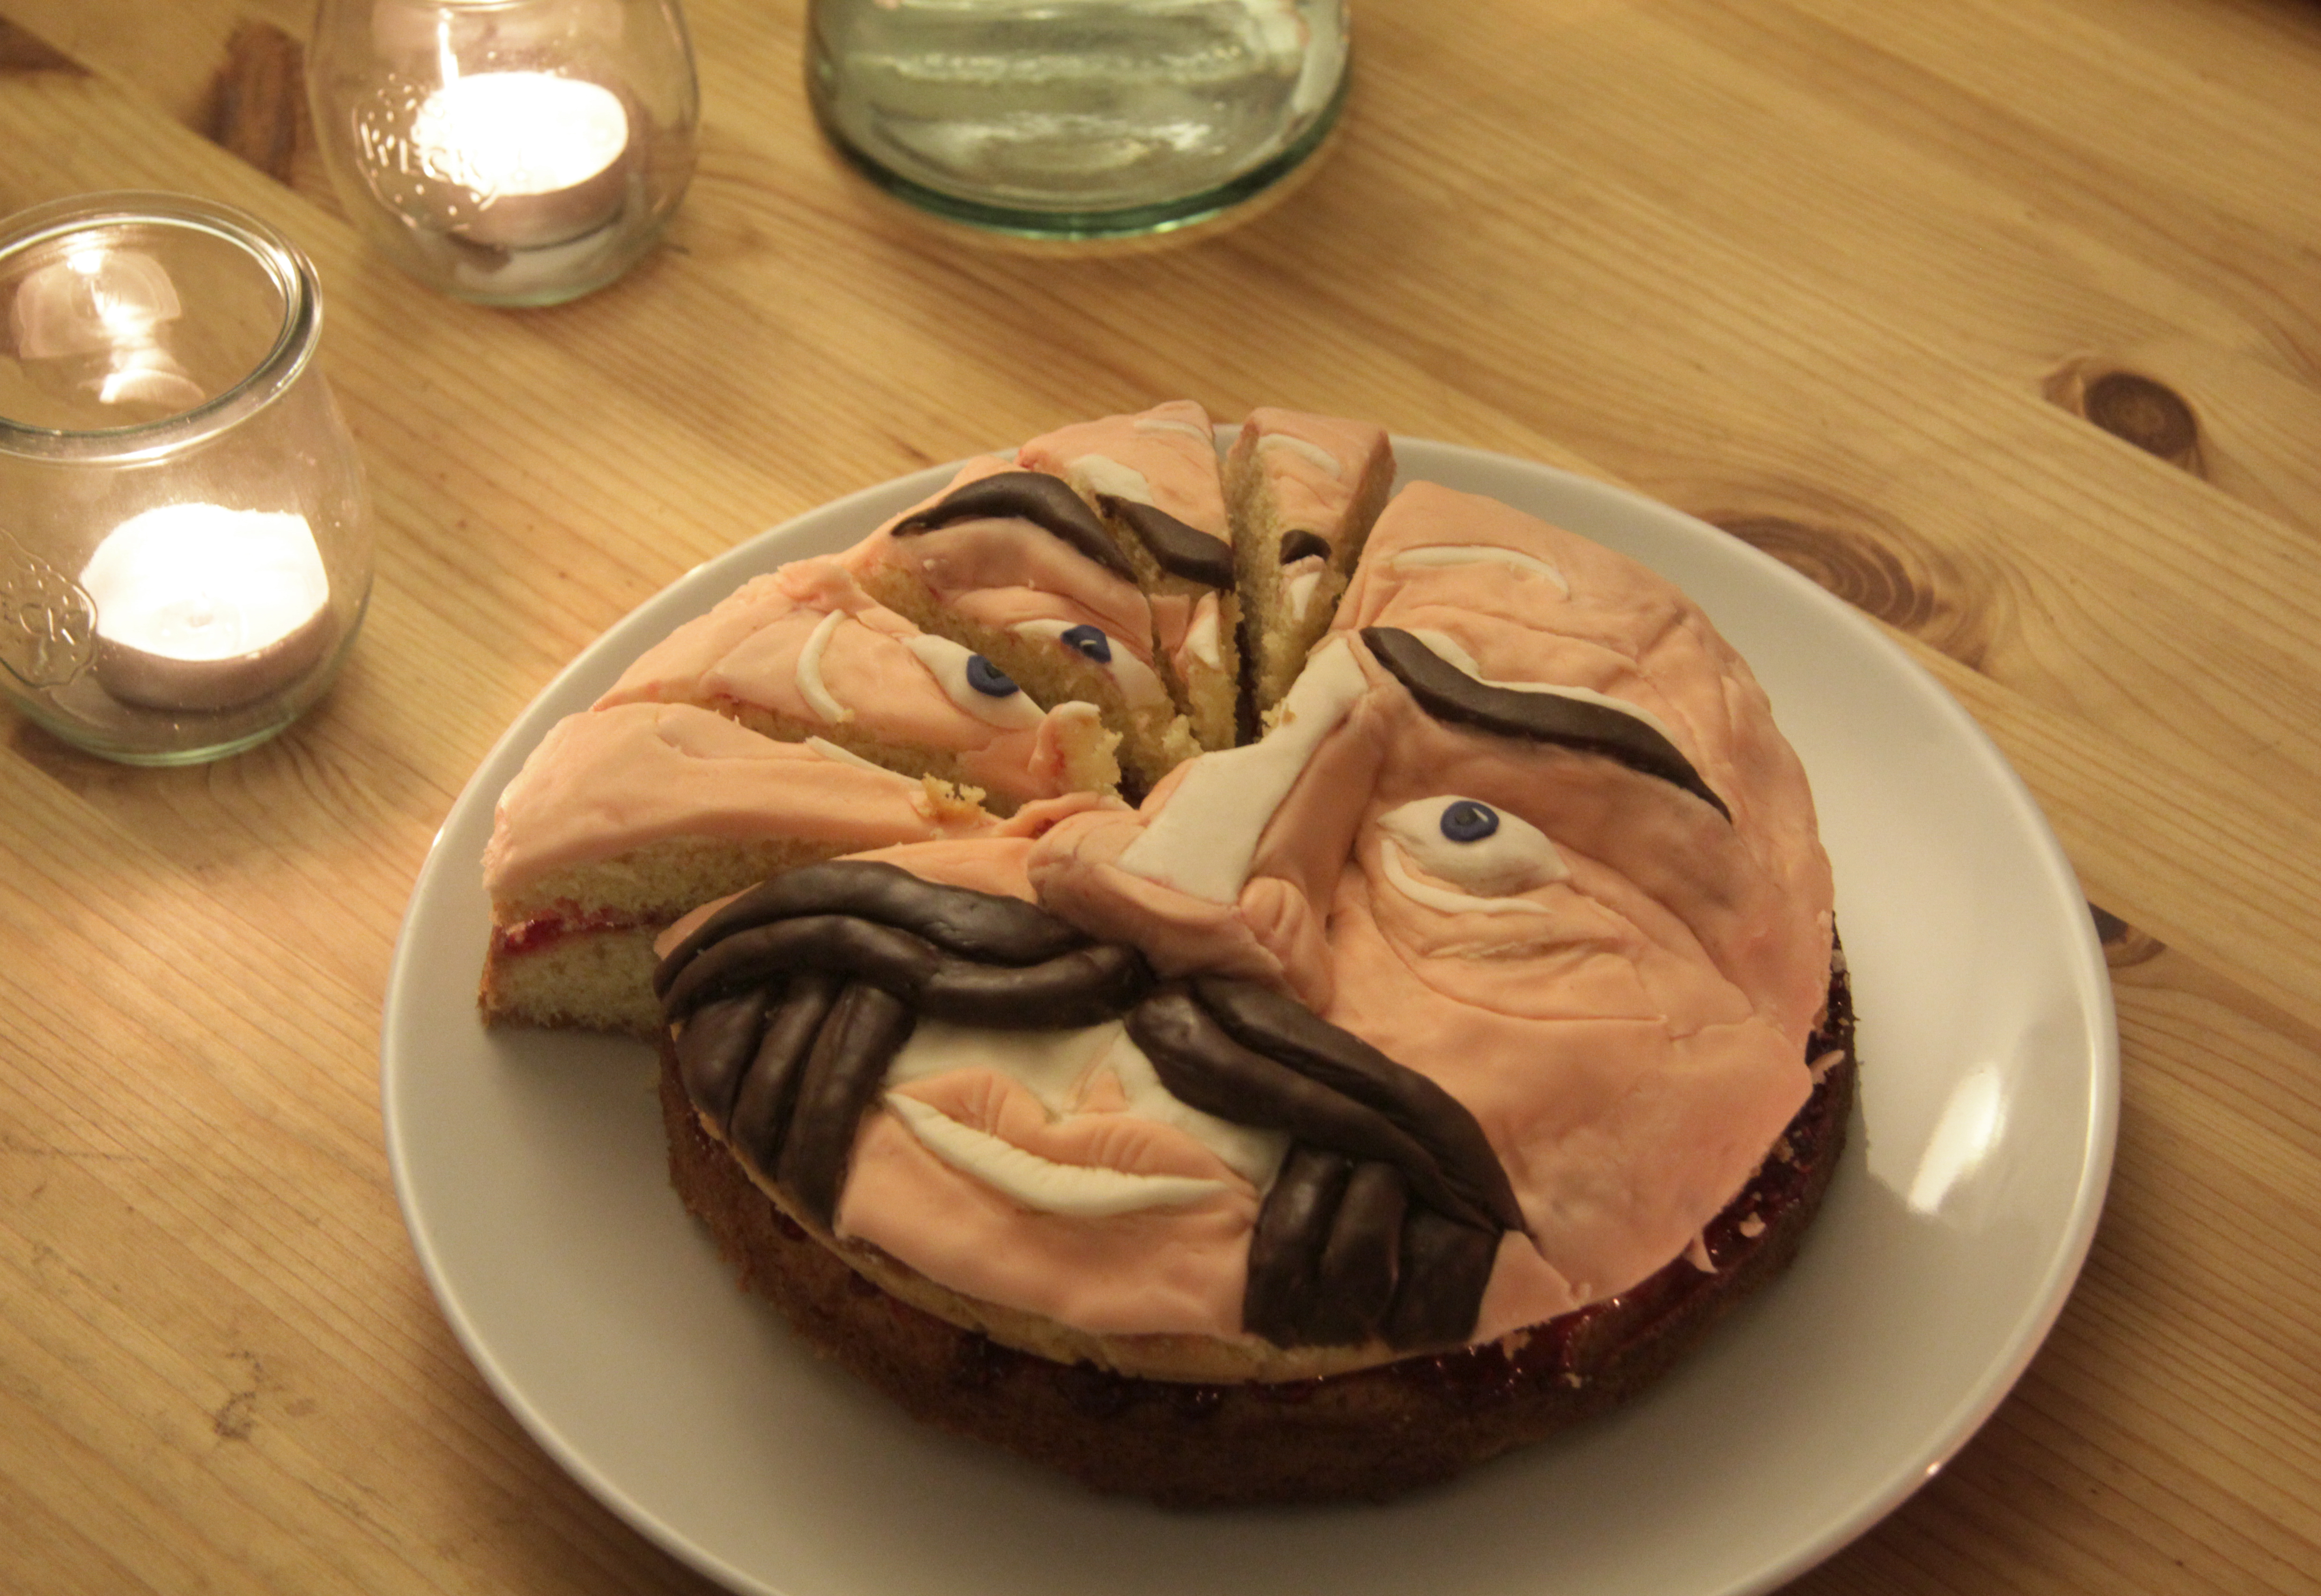
This cake is great fun to make and a cracker of a centrepiece at your next Equinox!Follow the instructions below for your very own wizarding wonder.
Ingredients
4 Free-Range Eggs
225g Caster Sugar
225g Self-Raising Flour
2 tsp Baking Powder
225g butter at room temperature, plus a little extra to grease the tins
Filling:
good-quality strawberry or raspberry jam
whipped double cream (optional)
Decoration:
Renshaw Ready to Roll Icing in:
Skintone 500g
Celebration 250g
Chocolate 250g
Powder Blue 250
Baking the Sponge:
Preheat the oven to 180C/350F/Gas 4.
Grease and line 2 x 20cm/8in sandwich tins: use a piece of baking or silicone paper to rub a little baking spread or butter around the inside of the tins until the sides and base are lightly coated. Line the bottom of the tins with a circle of baking or silicone paper (to do this, draw around the base of the tin onto the paper and cut out).
Break the eggs into a large mixing bowl, then add the sugar, flour, baking powder and baking spread.
Mix everything together until well combined. The easiest way to do this is with an electric hand mixer, but you can use a wooden spoon. Put a damp cloth under your bowl when you’re mixing to stop it moving around. Be careful not to over-mix – as soon as everything is blended you should stop. The finished mixture should be of a soft ‘dropping’ consistency – it should fall off a spoon easily.
Divide the mixture evenly between the tins: this doesn’t need to be exact, but you can weigh the filled tins if you want to check. Use a spatula to remove all of the mixture from the bowl and gently smooth the surface of the cakes.
Place the tins on the middle shelf of the oven and bake for 25 minutes. Don't be tempted to open the door while they're cooking, but after 20 minutes do look through the door to check them.
Carving and Decorating:
Once out of the oven, allow the sponge to cool completely.
Fill the cake with Jam and Cream.
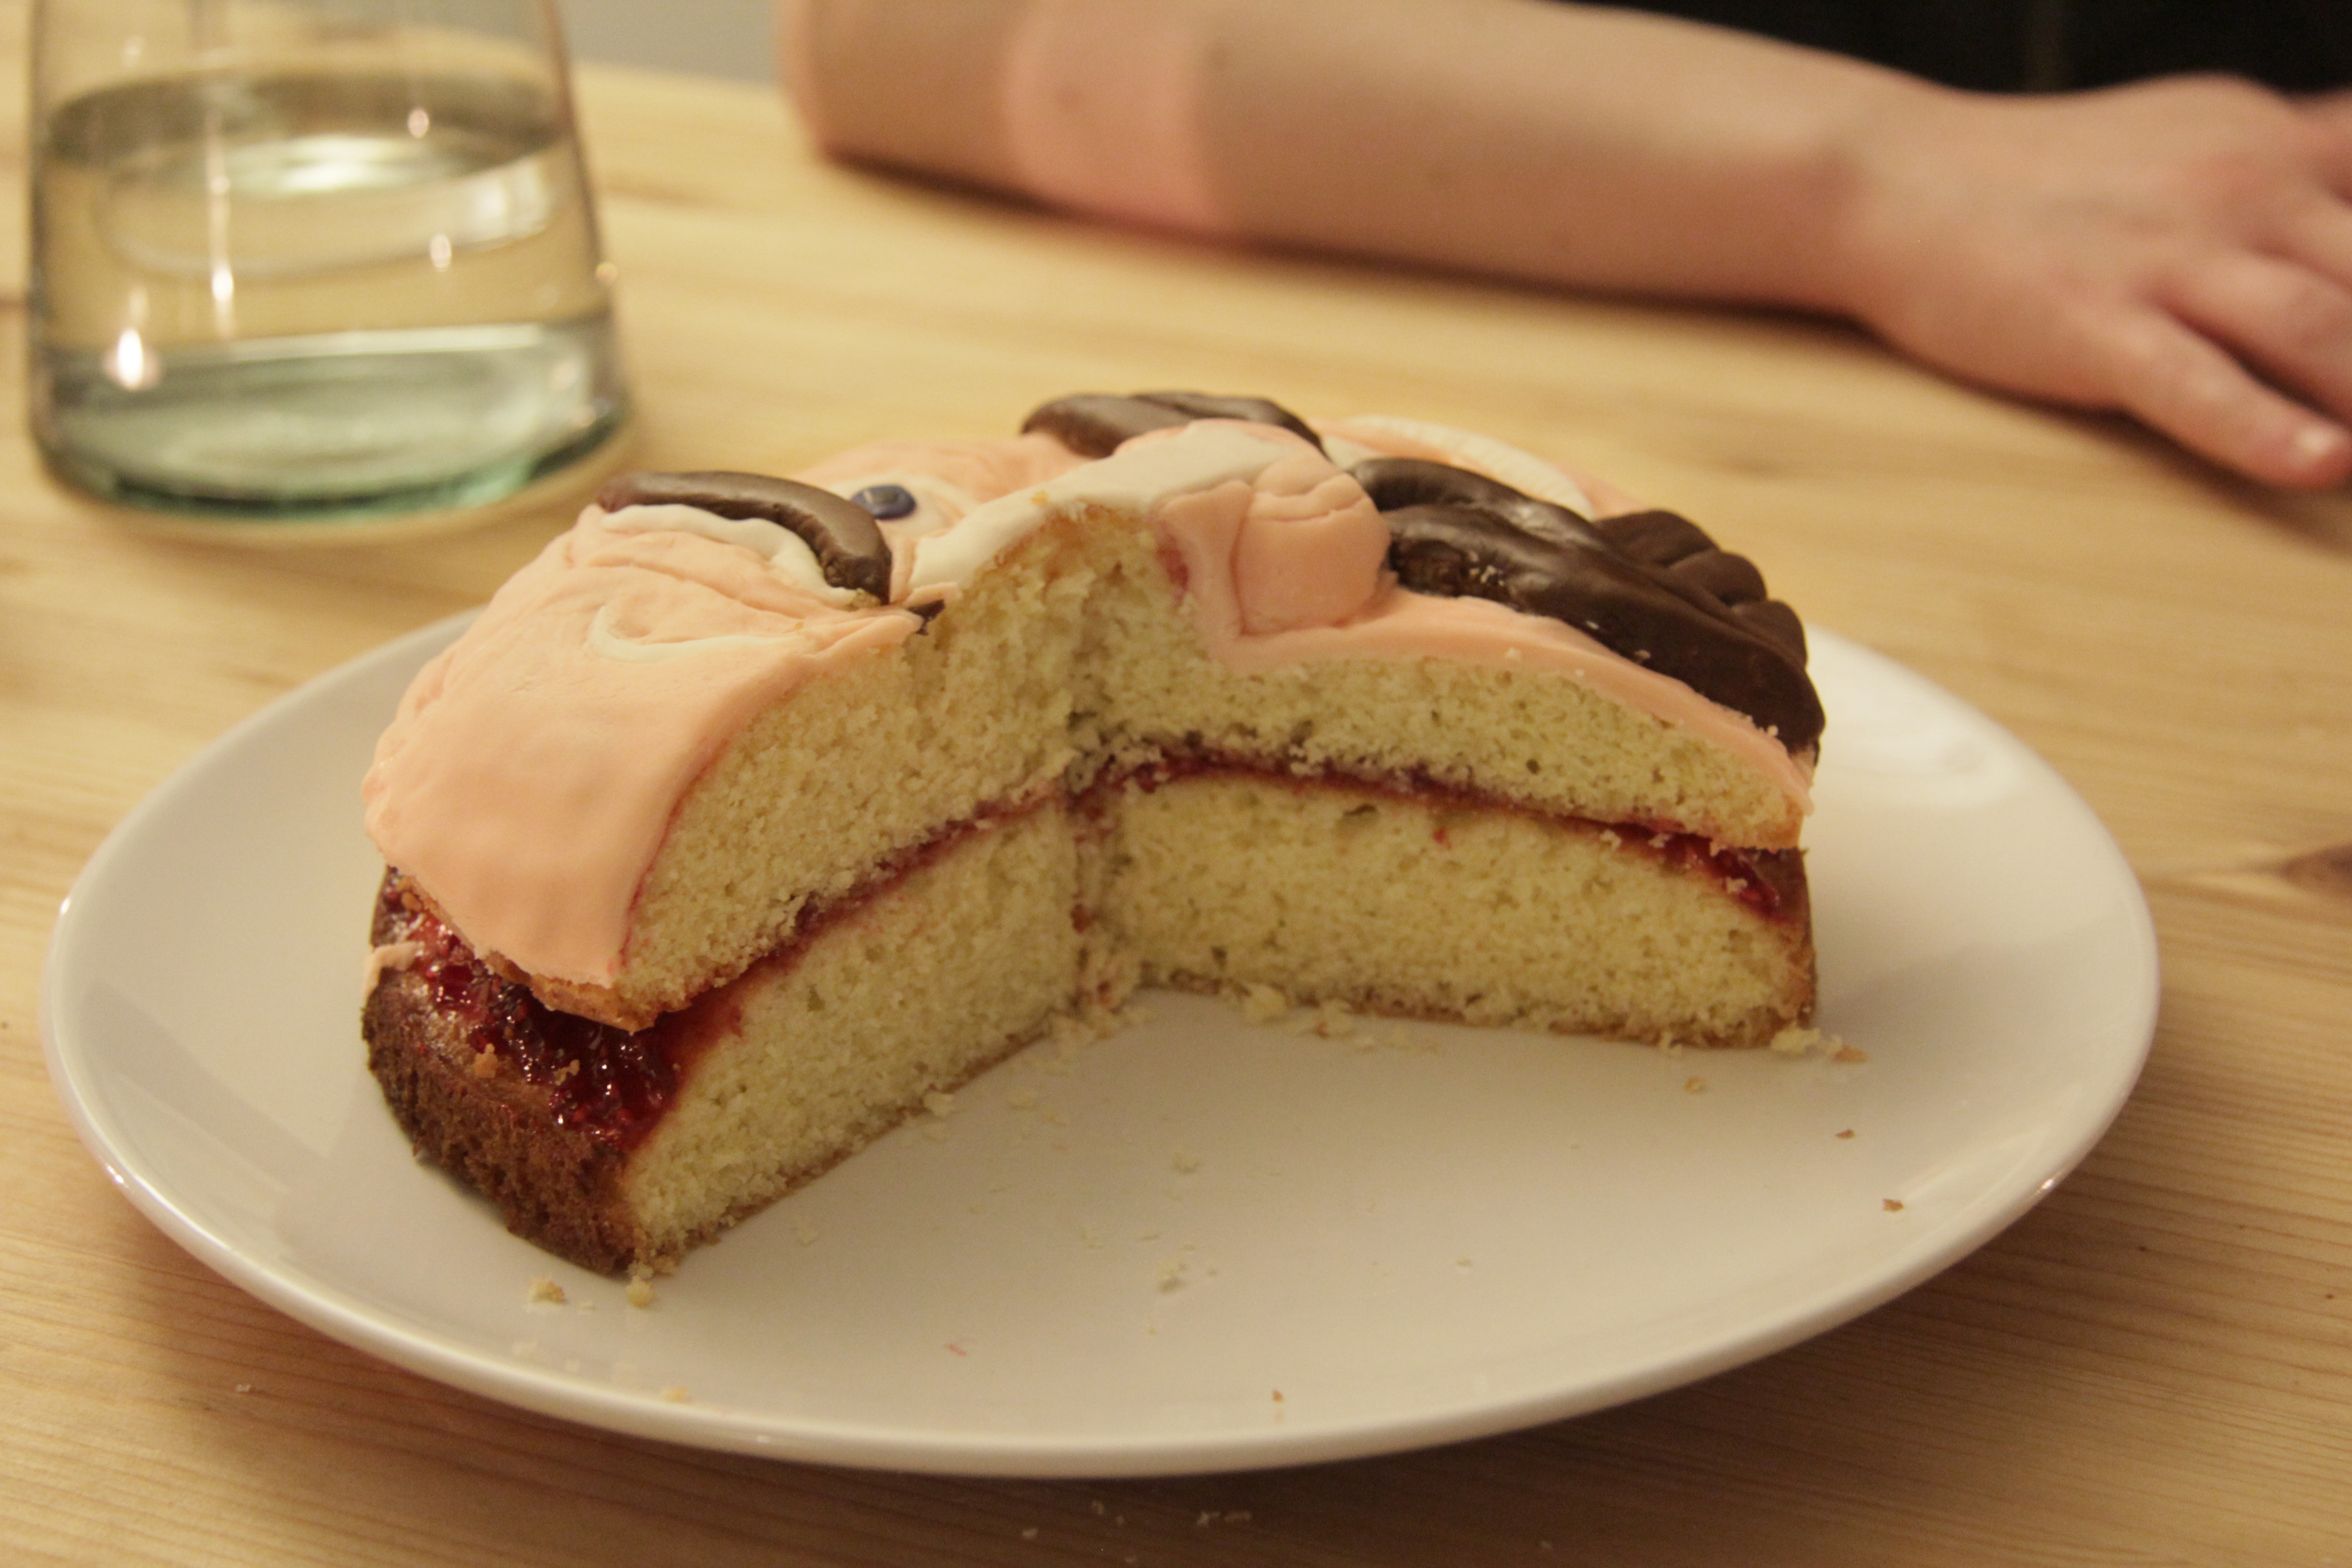
Use a SHARP knife (I used a ceramic blade) to cut into the cake from the top. This will give you a face shape when you look at it in profile. Do not carve deep and the middle of the cake which would expose the filling.
Once you have your basic facial shape, start to cut your icing to size spreading it over each section in turn until you build up the facial features.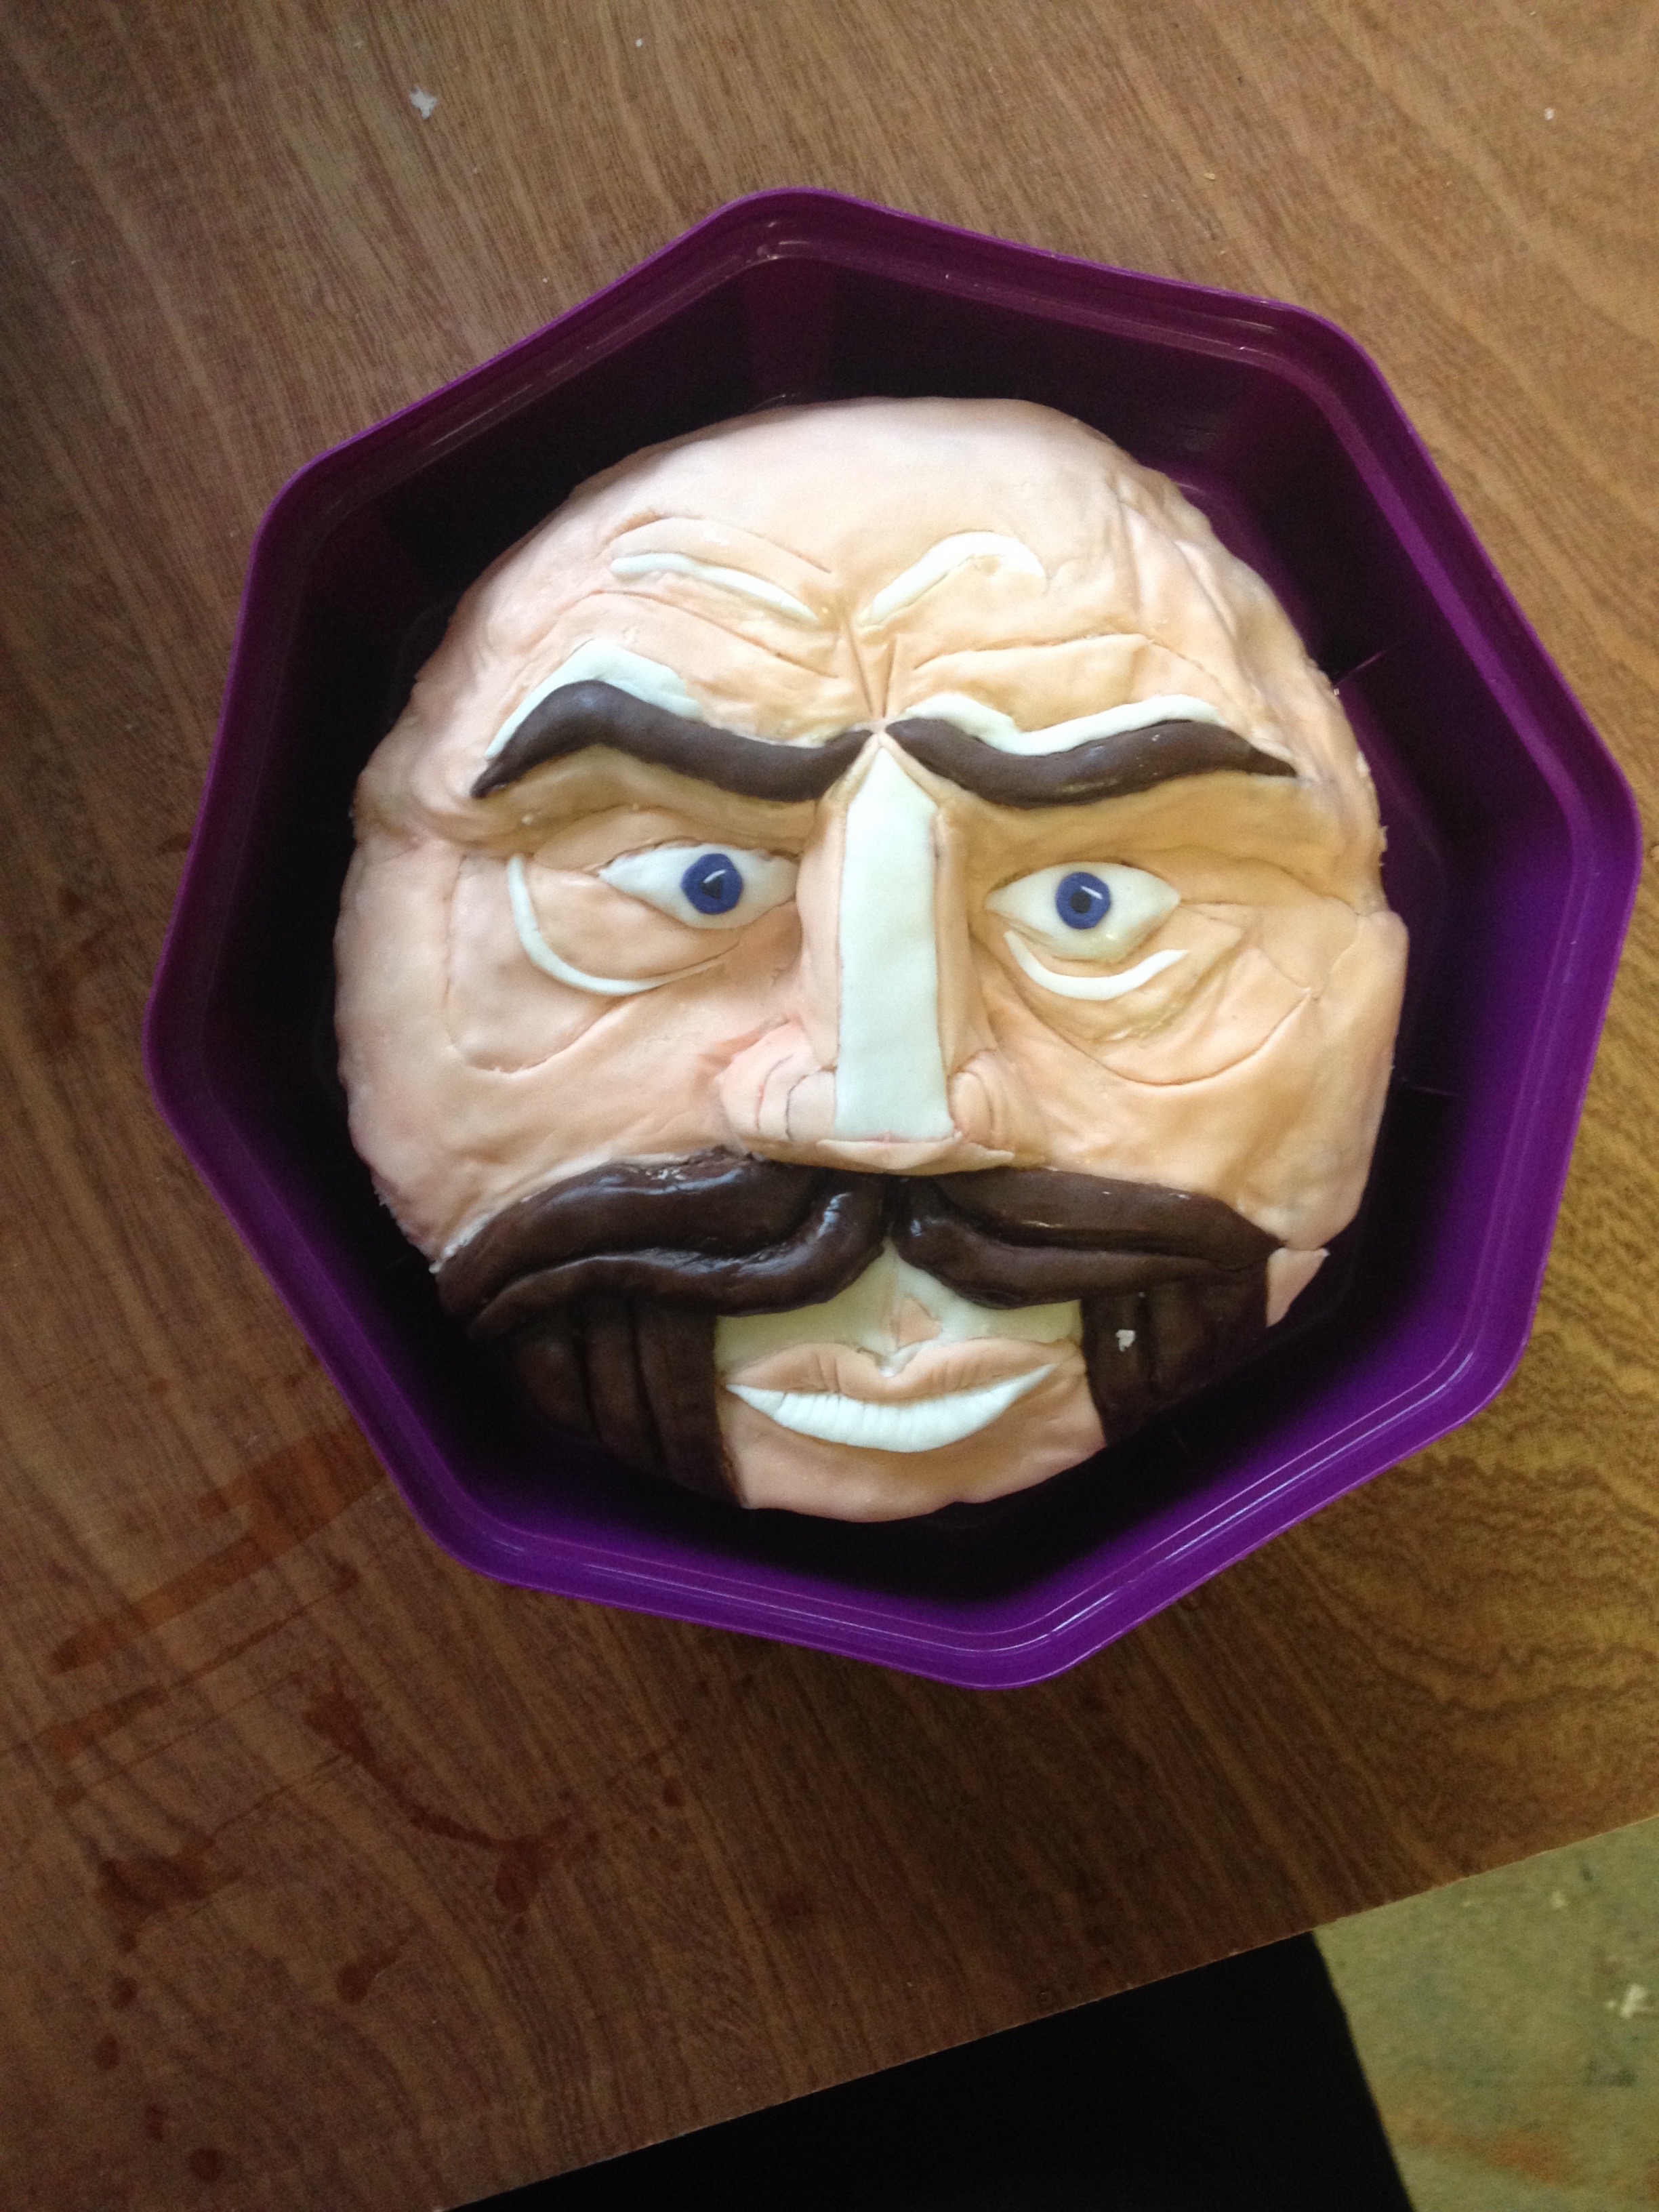
*Note: this method ensures that the icing is thin at all points, rather than using the icing to define the facial shape. See cut open side profile below.
Enjoy:Use your cake to celebrate with friends